

大家好,我是小绘!
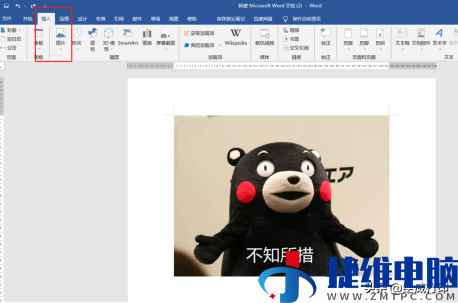
平时只听说过用PS抠图,那你知道Word也能用来抠图吗?今天,小绘就带大家一起来看看,用Word抠图怎么操作。

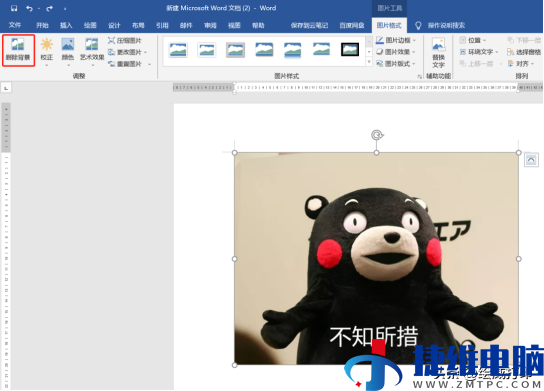
1、先把我们要p的图片插入到Word中,然后,鼠标选择图片,点击进入「格式」-「调整」-「删除背景」,然后将边框线拖动到需要抠出来的对象周围。
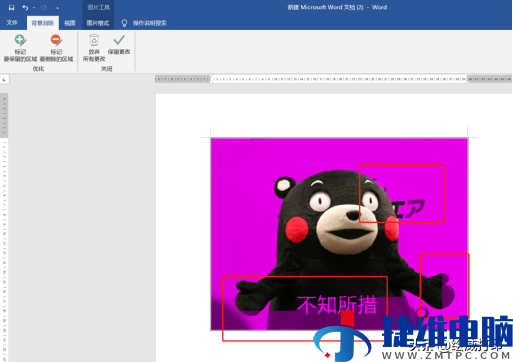
2、在图片内出现了紫色区域之后,我们就需要点击「背景消除」-「标记要保留的区域」,标记到图中紫色区域,直到把背景全部变成紫色,最后点击「保留更改」,就能够抠除成功。

3.抠完图后,我们来设置图片的背景颜色。选中图片,鼠标点击「右键」-「设置图片格式」-「填充」-「纯色填充」,设置颜色。
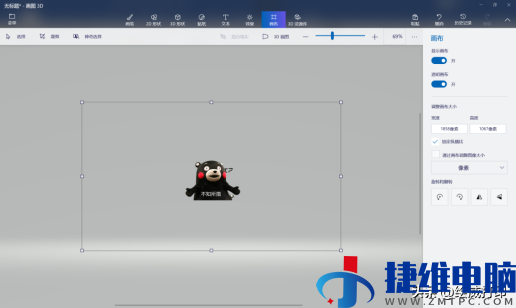
4.最后,我们把图片裁剪一下,选中图片,进入「格式」-「大小」-「裁剪」,调整好需要裁剪的大小,裁剪即可。

怎么样,你学会了吗?
更多打印知识、职场小技巧记得
多跟小绘在留言区沟通哦~


建议收藏!Alt键的6个神操作,让你的效率直接翻倍
WPS5个调整表格小技巧,提高工作效率不加班
Word表格如何求和?学会这个方法,工作效率升级
 微信扫一扫打赏
 支付宝扫一扫打赏